1. UI
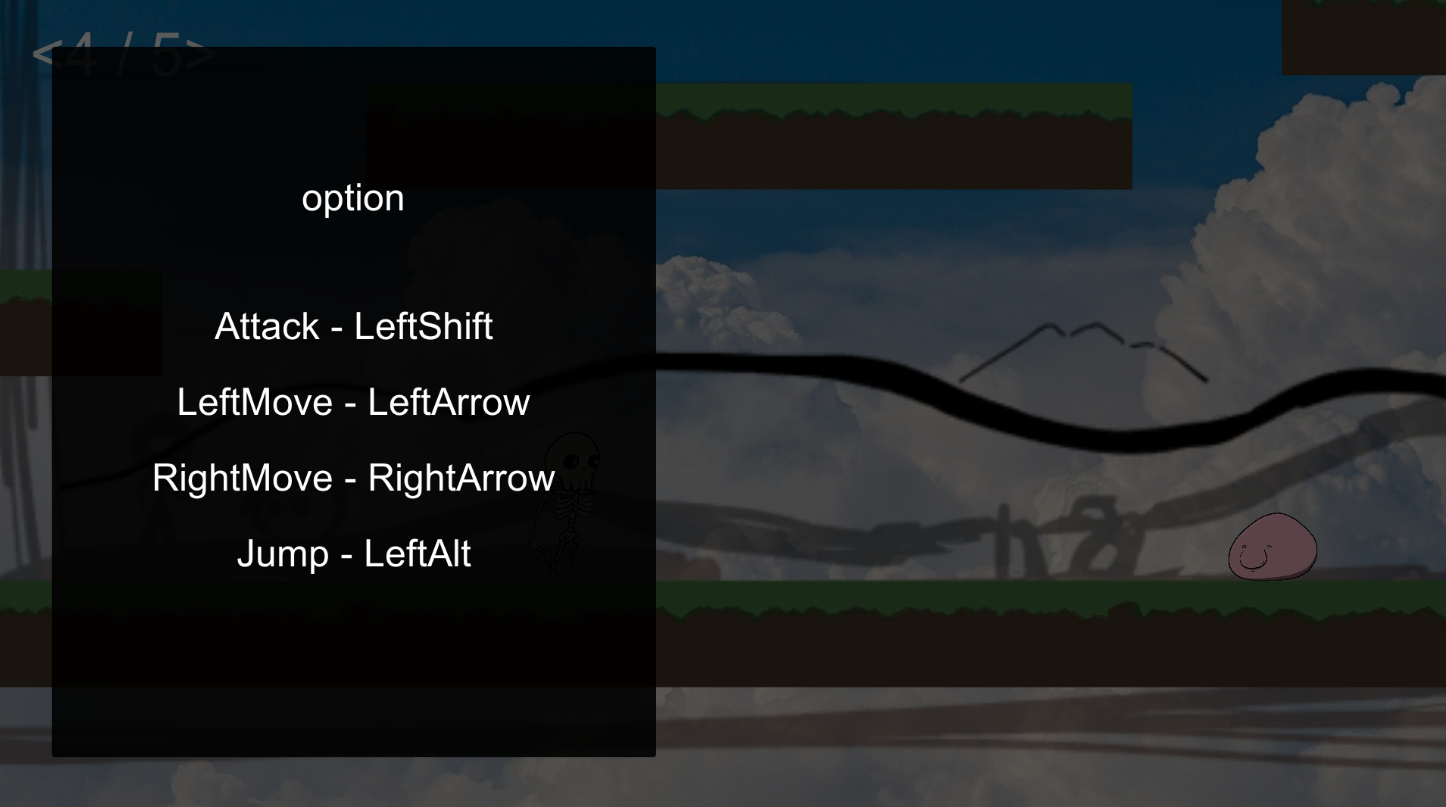
일단 위와 같이 UI를 만들어줬다.
구조에 대해서는 아래 링크에서 볼 수 있다. 이 메뉴를 여는 방법 또한 아래 링크에서처럼 만들어줬다.
[ERROR]2D RPG game 개발 일지 # 10 byUnity (canvas에서 메뉴 만들기)
게임을 진행하다가도 메뉴를 열 수 있어야하기 때문에 canvas에 메뉴를 만들기로 했다. 1. UI 일단 위와 같은 식으로 이중 panel의 형태로 메뉴창을 만들었다. Canvas ㄴ 반투명 panel ㄴ 검은색 panel ㄴ B
yunseong.tistory.com
2. class
|
1
2
3
4
5
6
7
8
9
10
11
12
13
14
15
16
17
18
19
20
21
22
23
24
25
26
27
28
29
30
31
32
33
34
35
36
37
38
39
40
41
42
43
44
45
46
47
48
49
50
51
52
53
54
55
56
57
58
59
60
61
62
63
64
65
66
67
68
69
70
71
72
73
74
75
76
77
78
79
80
81
82
83
84
85
86
87
88
89
90
91
92
93
94
95
96
97
98
|
using System.Collections;
using System.Collections.Generic;
using UnityEngine;
using UnityEngine.UI;
public class KeySettingManager : MonoBehaviour
{
public static KeyCode attack_keyCode = KeyCode.LeftShift; //다른 곳에서 편하게 사용할 수 있도록 static으로 변수를 설정해준다.
public static KeyCode right_keyCode = KeyCode.RightArrow;
public static KeyCode left_keyCode = KeyCode.LeftArrow;
public static KeyCode jump_keyCode = KeyCode.LeftAlt;
public GameObject textAttack;//버튼들의 하위에 있는 text들을 드레그로 담아줬다.
public GameObject textLeft;
public GameObject textRight;
public GameObject textJump;
private Event e;
private static int RIGHT = 1;
private static int LEFT = 2;
private static int JUMP = 3;
private static int ATTACK = 4;
private static int NONE = 0;
private int curInformation = NONE;
public void changeAttackKey() //각각 버튼에 넣어줄 함수들이다.
{
textAttack.GetComponent<Text>().text = "Attack -";
curInformation = ATTACK;
}
public void changeLeftKey()
{
textLeft.GetComponent<Text>().text = "LeftMove -";
curInformation = LEFT;
}
public void changeRightKey()
{
textRight.GetComponent<Text>().text = "RightMove -";
curInformation = RIGHT;
}
public void changeJumpKey()
{
textJump.GetComponent<Text>().text = "Jump -";
curInformation = JUMP;
}
void Update()
{
if (curInformation == NONE)
{
} else if (curInformation == ATTACK) //선택할 때
{
if (this.e.isKey)
{
attack_keyCode = e.keyCode; //위에서 만든 변수에 입력 받은 것을 저장한다.
textAttack.GetComponent<Text>().text = "Attack - " + attack_keyCode.ToString(); //text에도 추가해준다.
curInformation = NONE;
}
} else if (curInformation == RIGHT)
{
if (this.e.isKey)
{
right_keyCode = e.keyCode;
textRight.GetComponent<Text>().text = "RightMove - " + right_keyCode.ToString();
curInformation = NONE;
}
} else if (curInformation == LEFT)
{
if (this.e.isKey)
{
left_keyCode = e.keyCode;
textLeft.GetComponent<Text>().text = "LeftMove - " + left_keyCode.ToString();
curInformation = NONE;
}
} else if (curInformation == JUMP)
{
if (this.e.isKey)
{
jump_keyCode = e.keyCode;
textJump.GetComponent<Text>().text = "Jump - " + jump_keyCode.ToString();
curInformation = NONE;
}
}
}
private void OnGUI() //이 함수 안에서 Event.current를 받아올 수 있다.
{
this.e = Event.current;
}
}
|
cs |
9~12 - static 변수를 넣어줘서 다른 class에서 [KeySettingManager.attack_keyCode] 이런식으로 사용할 수 있다.
14~17 - Button의 자식 오브젝트인 text들을 상황에 따라 바꿔주기 위해서 여기 담아준다. (inspector에서 넣어줬다.)
29~33 - 버튼을 눌렀을 때 호출할 함수이고 그 버튼을 누르고 키보드로 원하는 키를 누르는 방식으로 키를 할당해줄 것이다. curInformation = ATTACK를 이용해서 어떤 키를 설정하고 있는지 저장해준다.
57~91 - curInformation를 이용해서 입력 받은 키를 알맞은 키에 저장해준다.
93~96 - 이 함수에서 Event를 받아올 수 있다.
이 class를 keySetting UI를 만든 panel에 연결해줬다.
3. Button이랑 연결
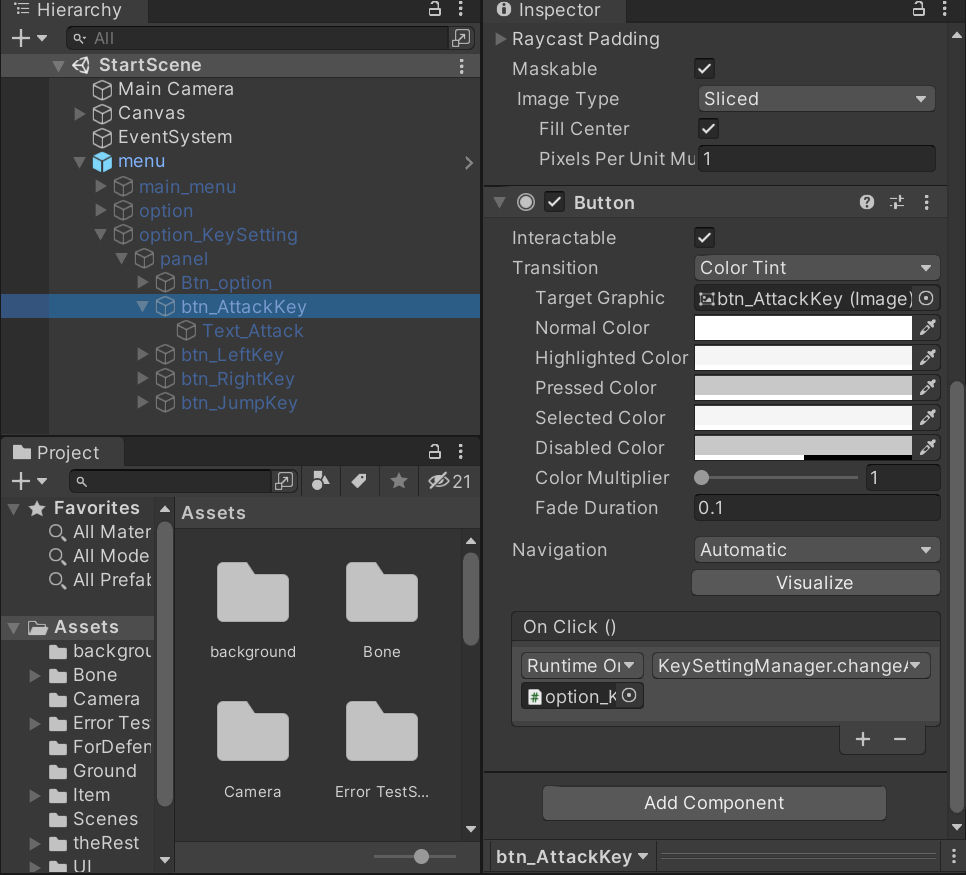
위 사진과 같이 Button의 OnClick()에서 위에서 만든 class를 담고 있는 panel(여기에서는 option_KeySetting type은 panel)를 넣어주고 오른쪽의 dropDown에서 알맞게 함수를 할당해줬다.
4. 오류 해결
하지만 이렇게 하면 알파벳이나 숫자 같은 printableKey들은 제대로 입력되지 않고 None을 반환했다.
|
1
2
3
4
5
6
7
8
9
|
if (this.e.isKey)
{
attack_keyCode = e.keyCode;
if (attack_keyCode.ToString() != "None")
{
textAttack.GetComponent<Text>().text = "Attack - " + attack_keyCode.ToString();
curInformation = NONE;
}
}
|
cs |
그래서 60~65 부분을 위와 같이 None을 반환할 때는 if문을 이용해서 걸려줘서 해결해줬다.
5. 결과
그렇게 하면 위와 같이 자연스럽게 키 배치를 설정할 수 있다.
'Unity > 2D RPG' 카테고리의 다른 글
| 돌진 공격 패턴 by Unity (0) | 2021.08.28 |
|---|---|
| 보스 공격 패턴 by Unity (0) | 2021.08.28 |
| Canvas에서 메뉴 by Unity (0) | 2021.08.18 |
| 캐릭터 나눠지고 합쳐지게 by Unity (0) | 2021.08.05 |
| friction, Collider2D in Unity (0) | 2021.08.02 |